
Last updated November 15, 2026
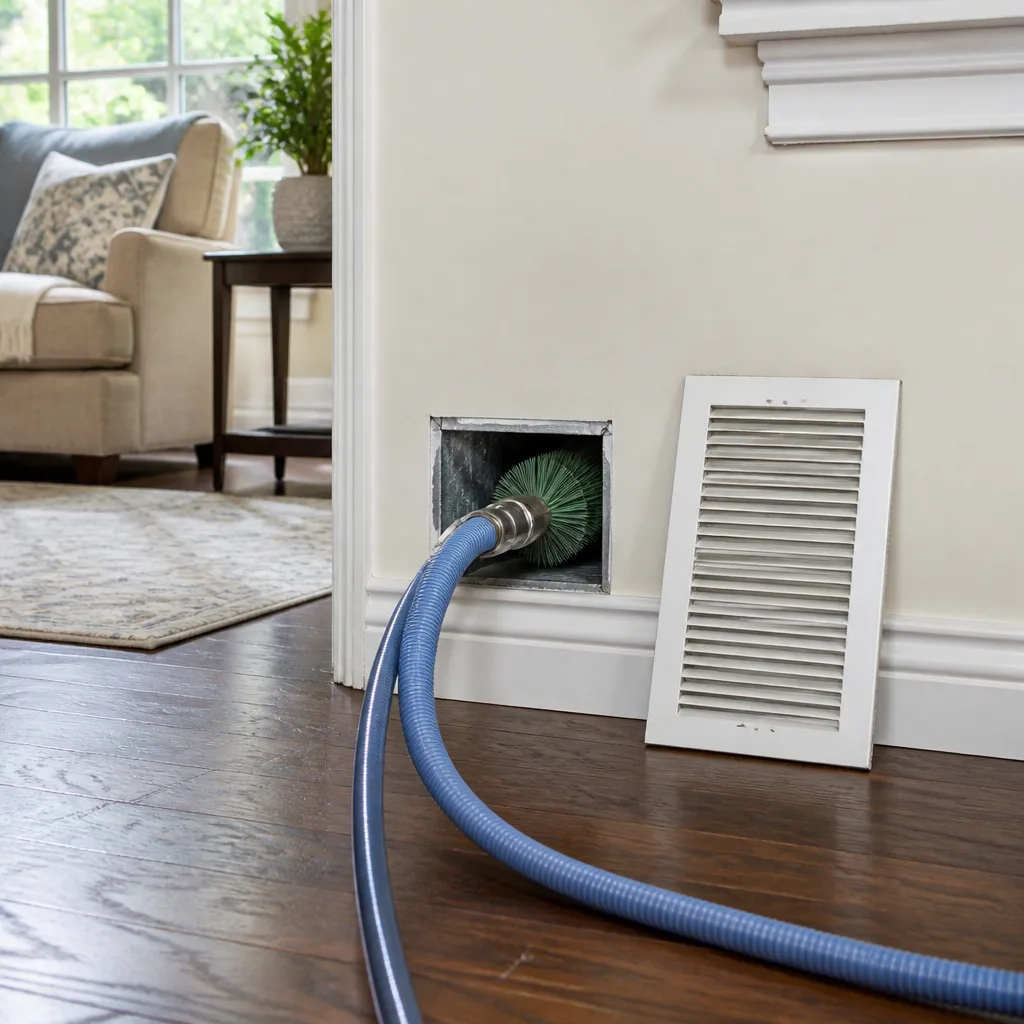 Whole-home duct cleaning
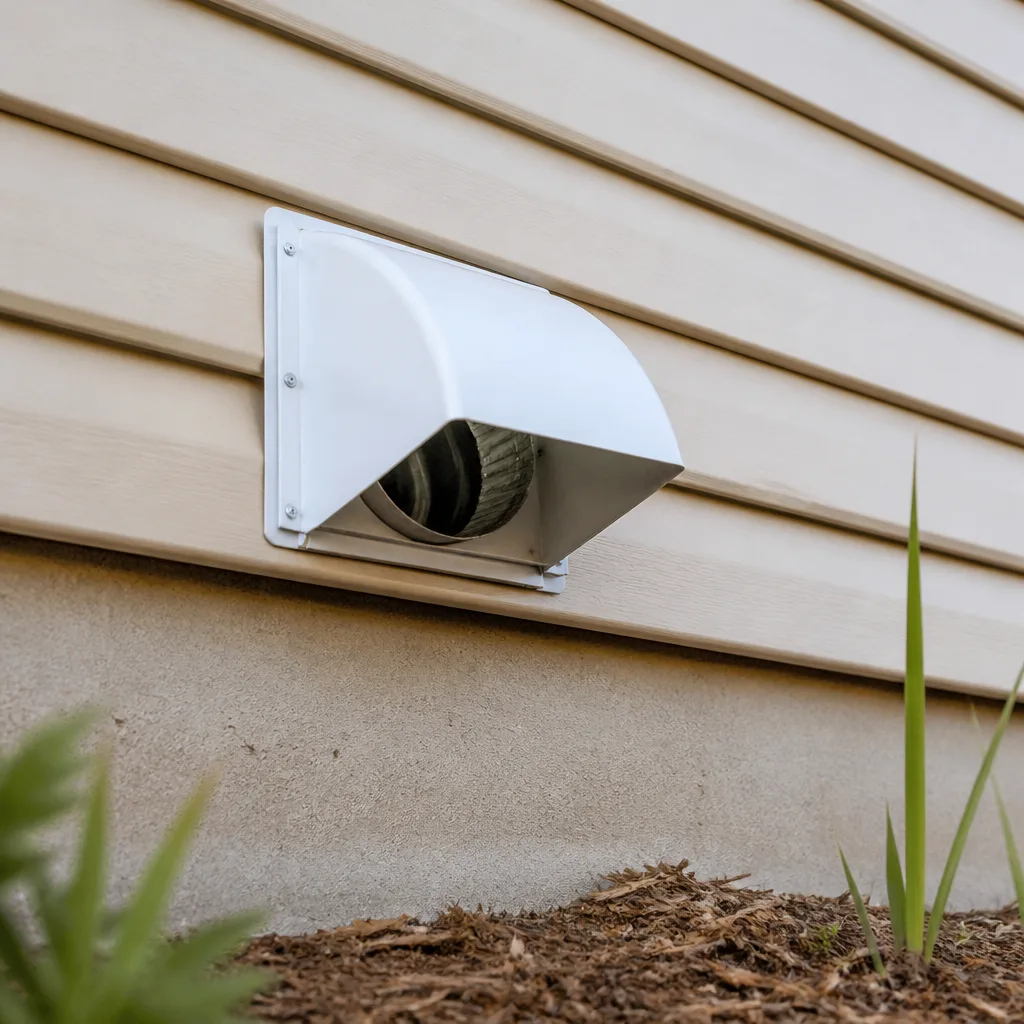 Dryer vent cleaning
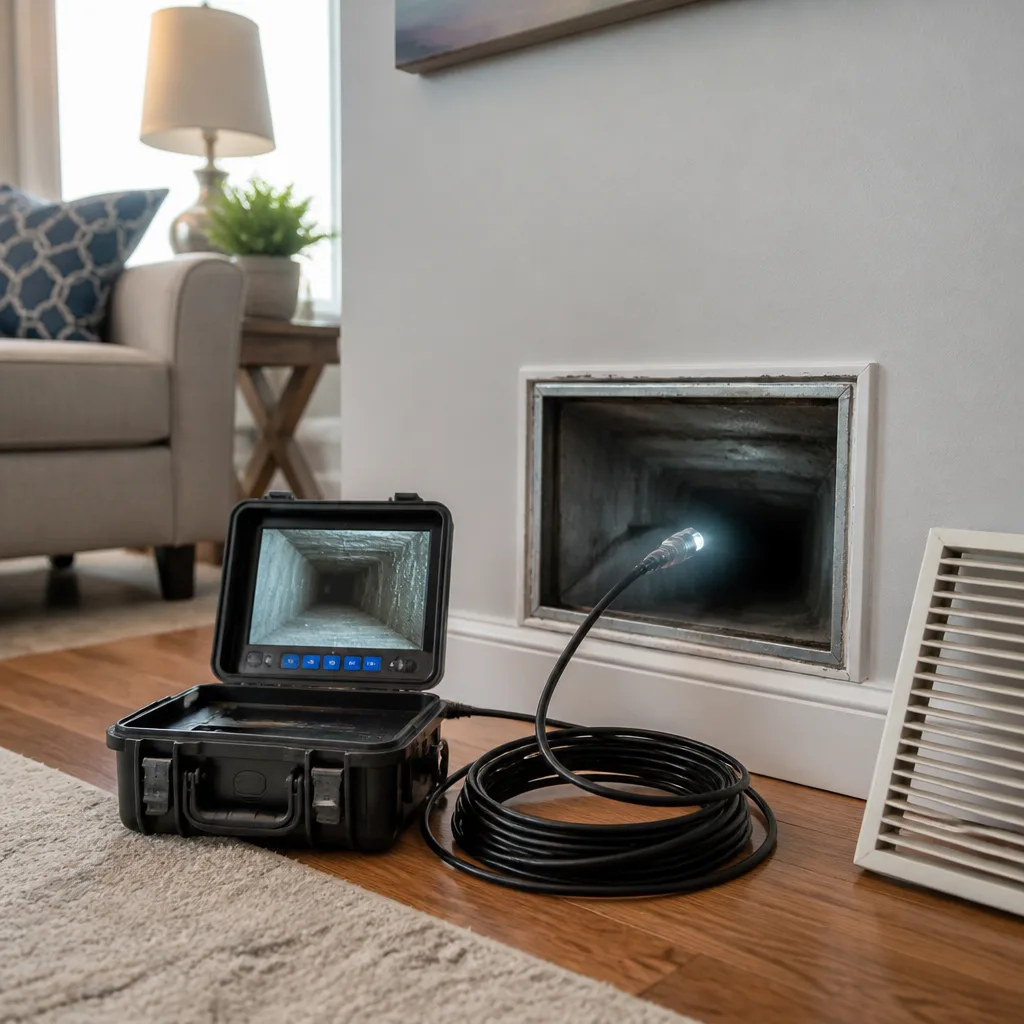 Camera inspection
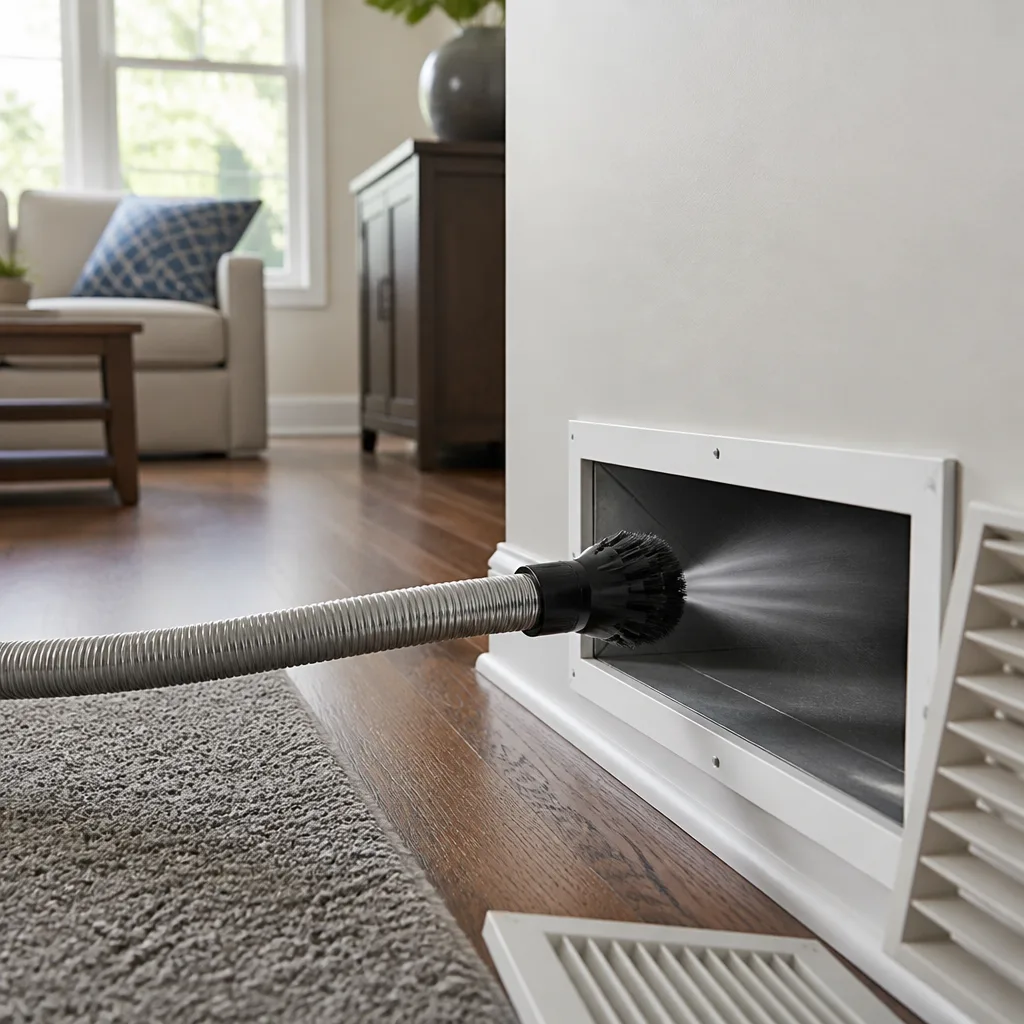 Sanitizing & deodorizing
Whole-system duct and dryer vent check with before-and-after photos - you see exactly what came out of your vents
That "$99 whole-house special" is a bait ad - the real number appears once they are in your hallway, or the "clean" is a shop-vac at the register. We photograph the inside of your ducts before and after instead.
Air Duct Cleaning Maintenance Checklist for Lynn Homeowners
You changed the filter last month. That tells you almost nothing about what’s happening inside your supply and return plenums. Most Lynn homeowners treat duct maintenance as a calendar reminder: book a cleaning, forget about it, repeat in three years. That approach misses the point. Your ducts give you signals long before they need professional service, and those signals are observable without a technician. In this guide, we’ll walk through six checkpoints you can perform yourself, explain what filter loading speed reveals about duct leakage, cover the seasonal tasks that matter in Lynn’s climate, and mark the one check that genuinely requires a trained eye.
Quick Answer
A duct maintenance checklist for Lynn homeowners should include monthly visual checks of filter loading, register grille color, and condensation at supply boots; a pre-heating-season inspection of return duct proximity to heat sources; a post-winter moisture check on basement trunk lines; and a consistent photo log so you can spot trends. A professional cleaning is typically warranted every three to five years, or sooner if you notice dust patterns, airflow changes, or visible debris. Equipment matters more than frequency: a trained specialist with professional-grade tools like Rotobrush or Nikro systems will find and fix what a visual check cannot.
Styles & brands we work with
- Whole-home duct cleaning
- Dryer vent cleaning
- Camera inspection
- Sanitizing & deodorizing
Table of Contents
- Why a Checklist Beats a Calendar Reminder
- Six Monthly Checks You Can Do Yourself
- What Filter Loading Speed Tells You About Duct Leakage
- Seasonal Tasks for Lynn’s Heating and Cooling Cycles
- How to Build a Photo Record That Shows Trends
- When to Call a Professional vs. DIY Cleaning
- Moisture, Basement Ducts, and Lynn’s Older Housing Stock
- Signs Your Ducts May Need Repair, Not Just Cleaning
Why a Checklist Beats a Calendar Reminder
Ducts don’t fail on a schedule. A return line in a Lynn basement can develop a seam gap slowly over several seasons, pulling in unconditioned air with each cycle. A filter that used to last two months can start loading in three weeks because something upstream changed. Neither issue announces itself with a calendar alert. Both leave observable evidence if you look.
In our experience as a duct-and-vent specialist, the homes that need the least invasive cleaning are the ones where someone notices small changes early. The homes that end up needing repair alongside cleaning are often the ones where a slow problem ran for years without a check.
The maintenance routine in this guide is built as a monitoring protocol, not a reminder system. It has two parts: what you can check yourself with your eyes and a phone camera, and what requires a technician with equipment you won’t find at a hardware store. We use this split because it saves homeowners money. You don’t need a professional visit every time dust appears at a register. You do need a professional inspection when your own checks surface something that tells you a system issue exists.
Lynn’s housing stock is varied, from older multifamily buildings near downtown to single-family homes in the surrounding neighborhoods. The common thread is that duct systems here have been through decades of heating and cooling cycles. A checklist routine helps you understand how yours is aging, without guessing.
Six Monthly Checks You Can Do Yourself
These checks take fifteen minutes a month. They don’t require tools beyond a phone camera and a flashlight. Each one tells you something specific about the condition of your duct system.
- Register grille color and dust pattern. Look at each supply register grille. Uniform light dust is normal. Dark streaks radiating from the grille edges suggest air is escaping around the boot or the register isn’t sealed to the wall or floor. Uneven dust concentration on one register compared to another in the same room suggests that branch line has a leak or blockage.
- Filter loading rate. Note the date you change your filter and the date it appears loaded. If a filter used to last two months and now loads in three weeks, something changed upstream. That’s the diagnostic signal covered in the next section.
- Condensation at supply boots. Check the metal boot where the duct meets the register, especially during cooling season. A small amount of condensation on the boot in humid weather can be normal. Persistent wetness, dripping, or staining on the drywall or flooring around the boot suggests an air-sealing problem or an insulation gap.
- Airflow at each register. Hold your hand at each supply register and compare. Consistent airflow across registers is the goal. A register that’s noticeably weaker can mean a disconnected or crushed branch duct, a closed damper you forgot about, or debris collecting in that run.
- Return air grille debris. Return grilles pull more volume than supply registers and collect larger debris. A return grille with visible hair, dust clumps, or pet hair buildup tells you the system is pulling in material that can settle in the return plenum and blower compartment.
- Odor at start-up. When the system starts a cycle, note whether there’s a musty or dusty smell from the registers. A brief dust smell at the start of heating season is common. A musty smell that persists points toward moisture somewhere in the system, which is worth investigating.
Keep a simple record for each check. A phone photo of the register grille, a phone photo of the filter face, and a note of the date. We’ll explain how to use that record in the section on documentation.
What Filter Loading Speed Tells You About Duct Leakage
Filter loading speed is the single most useful signal a homeowner can track. Here’s why. Your filter’s job is to catch particles before they reach the blower and the coil. If the filter is loading faster than it used to, more particles are reaching it. The question is where those particles come from.
A filter that used to last six weeks and now loads in three is processing roughly double the particulate volume in the same window. That extra volume is coming from somewhere. The most common causes are:
- Duct leakage on the return side. Return ducts run under negative pressure. A seam gap, a loose connection, or a hole in a return duct will pull air from inside the wall cavity, attic, or crawlspace. That air carries dust, insulation fibers, and debris directly into the filter. A filter loading faster than before is often the first sign of a return-side leak.
- Duct leakage on the supply side near the air handler. Supply-side leakage doesn’t load the filter faster, but it does reduce the volume of conditioned air reaching your rooms, which can make the system run longer. A filter that lasts longer than expected combined with weak airflow can point to supply-side leakage.
- House envelope changes. A remodeling project, new weatherstripping, or a change in window usage can shift how much outside air infiltrates the home. That changes what the filter sees.
- Filter type changes. A higher-MERV filter captures more particles and loads faster by design. If you recently changed filter ratings, note that before assuming a duct problem.
Track loading speed for three filter changes before drawing conclusions. A single faster-loading filter could be a one-off. A consistent trend over three cycles is a data pattern. When that pattern suggests a return-side leak, that’s a signal to have a professional inspect the return plenum and trunk line, not to simply change filters more often. Changing the filter more often treats the symptom. Sealing the leak treats the cause.
We’ve seen this pattern in Lynn homes repeatedly: a faster-loading filter, followed by a return plenum inspection that finds a gap at a trunk connection or a section of disconnected flex duct. Catching it early means a sealing fix, which is a smaller job than the cleaning-plus-repair situation that develops when a leak runs for years. Our air duct cleaning team can inspect and repair the same visit, so a filter-loading finding becomes a resolved issue rather than a referral to a second contractor.
Seasonal Tasks for Lynn’s Heating and Cooling Cycles
Lynn’s climate gives you two meaningful checkpoints a year: before heating season and after it ends. Both are worth putting on the calendar. Neither requires a technician unless your checks turn up a concern.
Before heating season
- Inspect the return duct path near your heating equipment. If your furnace or heat source is in a basement or utility closet, look at the return duct that runs near it. Check for signs of heat stress on the duct: discoloration, warping, or loose insulation. Return ducts running close to a heat source under negative pressure can pull warm air into the return, which affects system efficiency. If you see visible heat damage on the duct surface, that warrants a professional inspection before you run the heating system.
- Check the filter before the first heating cycle. Heating season means longer run times and higher particulate load. Starting with a clean filter gives you a clear baseline for tracking loading speed through the season.
- Look at the register grilles again. Heating season is when under-sealed boots become visible as condensation and streaking patterns shift. Photograph each grille for your record.
- Verify return grille size and clearance. A return grille blocked by furniture, rugs, or storage can force the system to pull air from worse sources. Clear a minimum of a few inches in front of each return.
After winter ends
- Check basement trunk lines for moisture. Cold basement walls and metal or flex trunk lines can develop condensation as warmer air arrives. Run your hand along basement duct surfaces and look for water beads, rust streaks, or staining on the floor beneath the duct. Persistent moisture around a basement trunk line points to insulation gaps, air leaks, or a humidity issue that should be inspected.
- Inspect the exterior terminations. If any ducts terminate outside, check that the terminations are clear and that no debris or animal activity has disturbed the screens or covers.
- Change the filter and note the loading rate. Post-winter filter replacement gives you a fresh baseline for spring and cooling season.
- Photograph the basement ducts and the register grilles. Add these to your record.
For homeowners who want a full inspection of their duct and vent system alongside their spring checklist, our Lynn service page covers what a professional assessment includes. If your dryer has been running hotter or taking longer to dry clothes, that’s a separate safety check worth scheduling: our dryer vent cleaning service addresses the lint accumulation that makes dryer vents a leading cause of residential house fires. (Do not attempt this yourself. Dryer vent lint removal requires reaching difficult spans of duct and inspecting for crushed or disconnected vent runs. A trained technician with the right tools will catch what a home vacuum won’t.)
How to Build a Photo Record That Shows Trends
The difference between a photo and a data point is consistency. A single picture of a dusty register tells you a register is dusty. The same photo taken on the same day every month tells you whether the dust is accumulating faster than it used to.
Build your record with a simple system:
- Choose two registers and one return. Pick the register that shows the most dust and one that shows the least, plus your primary return grille. You don’t need a picture of every register every month; you need a consistent set of reference points.
- Use the same framing. Photos of the same grille from the same angle and distance on a consistent day of the month give you comparable images. Take the photo with a consistent reference in frame if possible (a ruler, a coin, a card).
- Photograph the filter face when you change it. Note the install date and the removal date. The photo shows what the filter captured; the dates show how fast it captured it.
- Add a note for seasonal changes. Note when you start the heating system and when you stop it. Seasonal distinctions matter when you compare month-to-month images.
- Keep the record with your home maintenance files. If you sell your Lynn home, a documented duct maintenance record is a small but real asset. It shows attention to a system buyers don’t see.
After six months, look at the record. You’ll start to see two patterns worth noting. First, does the dust accumulation rate appear stable or increasing? Second, does the filter loading rate appear stable or shortening? A stable pattern over six months is a good sign that nothing needs professional attention. A trend toward faster accumulation is a signal worth investigating, even if everything still looks normal day-to-day.
When to Call a Professional vs. DIY Cleaning
Some dust at your register grilles is a fixture of home ownership, and reaching for a shop vac is fine for surface dust. The question is when your own observations cross the line into a professional inspection. Here’s the distinction we use.
A DIY check finding is a signal to inspect. These are findings that tell you something is changing and that a trained eye should look at the cause. They include:
- Fast filter loading compared to the same filter type six months earlier
- Persistent condensation or staining at a supply boot
- Noticeable airflow reduction at one or more registers compared to the rest
- Persistent musty odor at start-up
- Visible heat stress or moisture on basement trunk lines
- Visible debris dislodged from a register when you remove the grille
A professional cleaning is warranted on frequency and observation. Three to five years is the general interval, but the interval isn’t a law. A household with pets, a recent renovation, or a Lynn home with a long return run through a basement may need cleaning on a shorter interval. Cleaning without repair addresses dust and debris. If your checks also flagged one of the signals above, the visit should include repair capability, which is what distinguishes a specialist from a cleaning-only crew.
A professional repair is warranted when the duct system itself is compromised. Visible disconnections, crushed flex runs, torn seams, or a boot that’s separated from the wall are structural issues. Cleaning a compromised system without sealing it cleans the leak’s output without stopping the leak. Our team brings professional-grade equipment to the job specifically because duct repair and cleaning are one visit, not two. We use Rotobrush and Nikro systems for the cleaning and Abatement Technologies filtration units on-site to maintain containment during the work. If the inspection finds a compromised section, we patch and seal it during the same visit rather than handing the repair to another contractor.
In our experience, the homes that avoid expensive remediation are the ones where a homeowner called after an unusual check finding, not after a visible failure. A call costs nothing: we answer questions about whether a finding warrants an inspection without a service-call fee.
Moisture, Basement Ducts, and Lynn’s Older Housing Stock
Moisture is a more common duct issue in Lynn than most homeowners expect, and it’s a maintenance checklist item that deserves its own attention. The reason is housing stock. Older homes in Lynn, particularly those with basements, often have duct runs that pass through unconditioned or semi-conditioned spaces. Those runs see temperature swings that develop condensation when warm air arrives.
Metal duct runs in a cool basement will sweat when warm, moist air flows through them. Flex duct with a compromised outer vapor barrier will sweat at the tear. A trunk line that’s not insulated in an unconditioned basement will collect condensation along its surface. None of these issues announce themselves as a humidity problem at the thermostat. They show up as staining on the floor beneath the duct, rust streaks on the metal, or a growing musty odor that seems to come from the basement.
If your post-winter check finds moisture along a basement trunk line, the appropriate response isn’t to vacuum the duct or buy a dehumidifier. It’s a professional inspection. The moisture source is either an air leak (which should be sealed), an insulation gap (which should be addressed), or a humidity issue in the basement itself. Our inspection includes looking at the duct and report what we find. If the finding includes compromised insulation or a disconnected run, our repair capability is what allows us to address it during the same visit.
For homeowners in older Lynn multifamily buildings, the checklist shifts slightly. Shared duct systems require coordination with neighbors about cleaning schedules and may include longer, more complex duct runs. An inspection before cleaning identifies what the work will involve.
Signs Your Ducts May Need Repair, Not Just Cleaning
Cleaning removes what’s settled in the duct. Repair fixes what’s letting material into the duct. The two are not interchangeable, and a maintenance checklist naturally surfaces repair signals if you know what to look for.
Here are the observable signs that point specifically toward repair:
- Disconnected or visibly collapsed runs. If you remove a register grille and see a duct that doesn’t connect cleanly to the boot, or a flex run that’s crushed flat, that’s a repair job. A cleaning visit that doesn’t address it will leave the airflow problem in place.
- Torn or separated seams on metal duct. Metal ducts run in Lynn basements commonly develop seam separation as buildings settle. The result is a leak that runs quietly for years, pulling basement air into the return. A seam gap is a repair, not a cleaning issue.
- Compromised flex duct vapor barrier. Flex duct with a torn outer jacket loses insulation value and collects condensation. Replacing or resealing the compromised section is the fix.
- Crushed or kinked turns. Duct routing sometimes develops kinked turns as it ages, particularly where a run passes through a tight joist bay. A kinked run restricts airflow; a cleaning will pass through it but won’t fix it.
- Sealed-register symptoms. If one register blows noticeably weaker than others and adjusting the damper doesn’t help, that register’s branch line is a candidate for inspection. The cause may be a disconnection, a crush, or debris. Only an inspection can tell you which.
What sets our work apart is that a maintenance checklist finding doesn’t end with a referral. Our technicians have up to 13 years of experience inspecting and repairing duct systems, and we bring the same professional-grade equipment used in remediation work to every job. We can also speak to IAQ upgrades if your repair should include filtration improvements: we’re familiar with Honeywell and Aprilaire whole-home air quality lines, which means we understand how filtration and purification systems interact with the ducts we clean and repair. If a repair visit surfaces a question about your air quality system, we can address it without calling in another trade.
Common Mistakes to Avoid
- Changing filters more often without asking why. If your filter loading rate has shortened, more frequent filter changes treat the symptom. The cause is usually a return-side leak or a change in the home’s envelope, and both are worth inspecting. Changing the filter is the cheaper move; finding the cause is the smarter one.
- Cleaning visible registers and calling it duct maintenance. Vacuuming a register grille removes surface dust from the grille, not from the duct. The material sitting in your plenum is what affects airflow and air quality, and reaching it requires equipment that reaches it.
- Ignoring basement moisture because the upstairs feels fine. Duct moisture in a Lynn basement often doesn’t reach the rooms until the odor and staining are advanced. A post-winter check catches it before it does.
- Skipping the pre-heating-season filter change. Starting heating season with a loaded filter shortens the filter life further and gives you a poor baseline for tracking loading speed through the winter.
- Choosing the lowest duct cleaning quote without asking about equipment. A shop vac and a brush are not professional duct cleaning equipment. Ask what equipment the crew will use, whether the work includes containment, and whether the technician can repair a compromised duct discovered during cleaning. If those questions can’t be answered, the quote isn’t comparable to a professional job.
- Assuming a five-year cleaning interval fits your home. The interval is a starting point. Pets, recent renovations, and older Lynn housing stock with complex duct runs can shorten it. Your own checklist record is the better guide than the calendar.
- Treating a duct alarm as a dryer vent check. Dryer vent cleaning and duct cleaning are separate services with separate safety outcomes. If your clothes dryer is running hotter or taking longer, that’s a dryer vent inspection, not a duct cleaning. The fire-safety issue in a dryer vent is not the same as the air quality issue in a supply duct.
See the difference
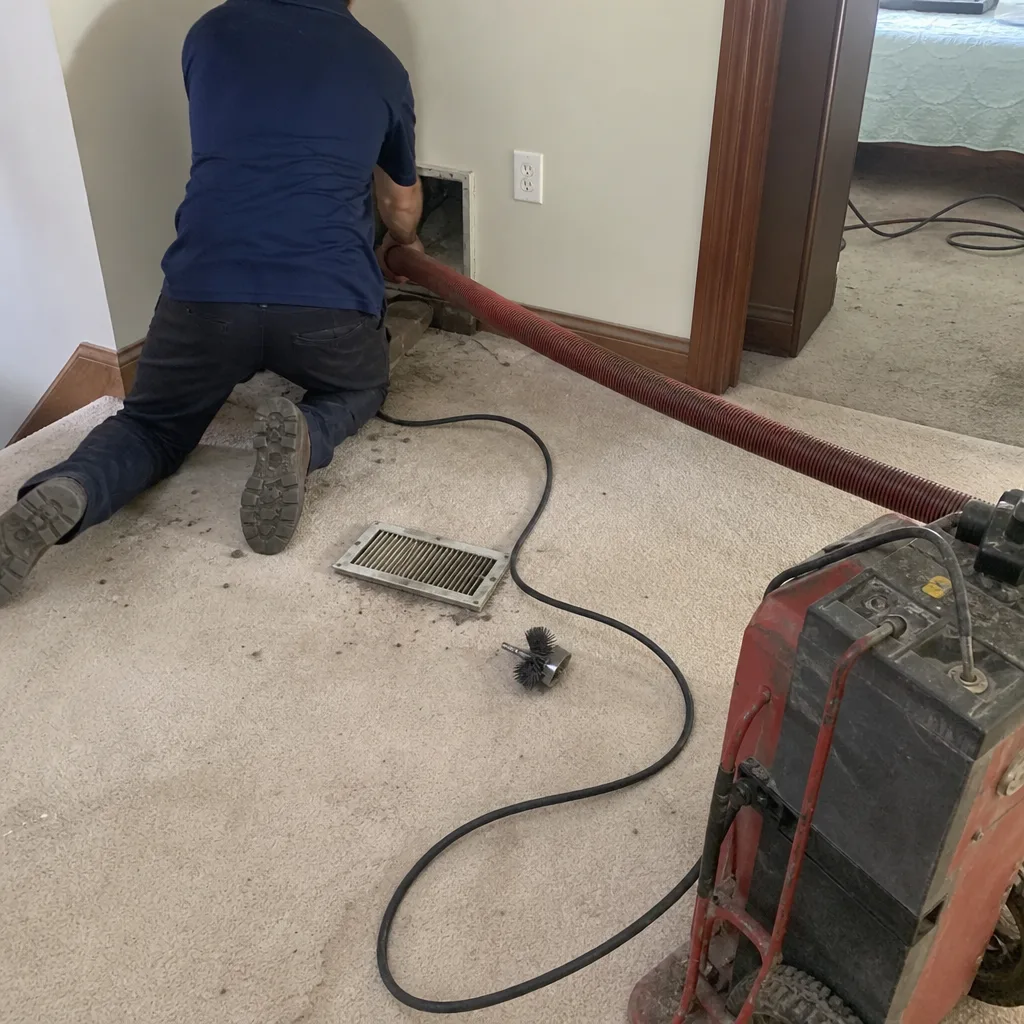 Before
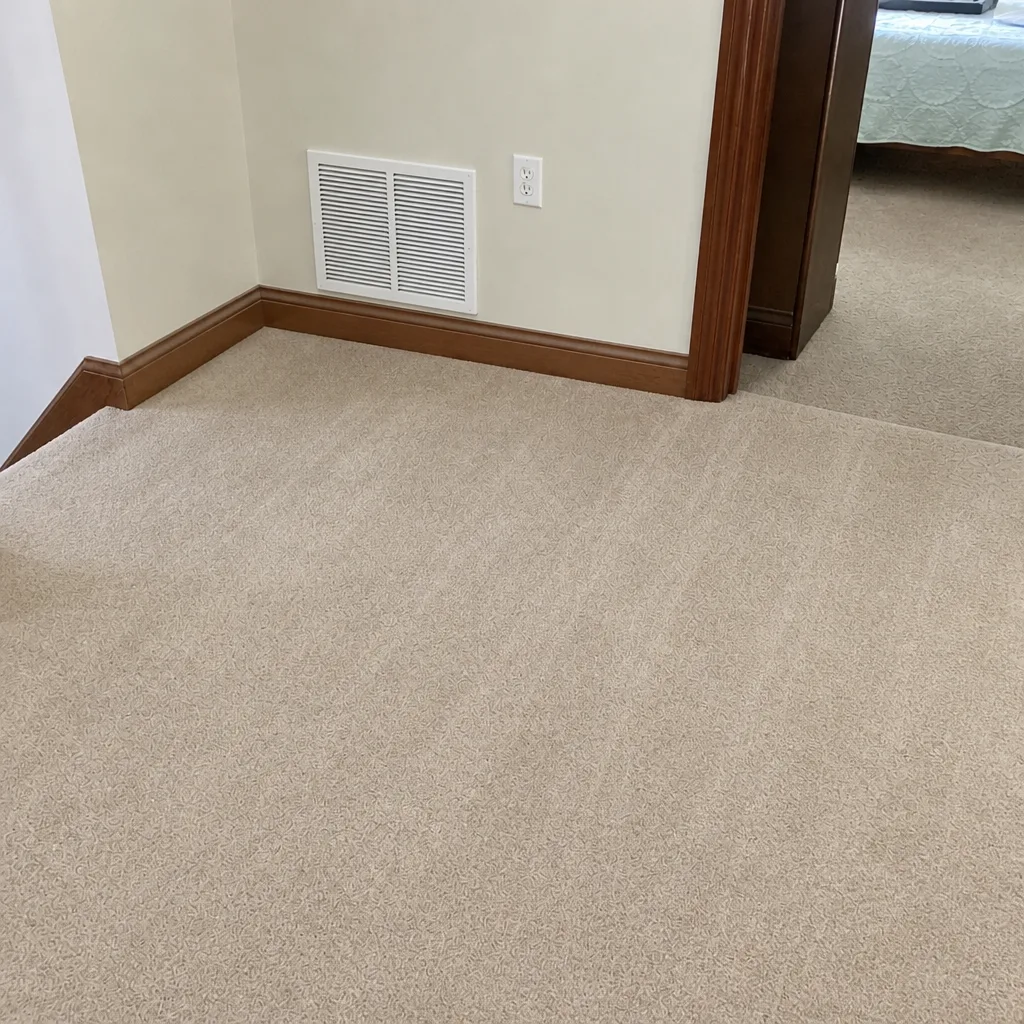 After
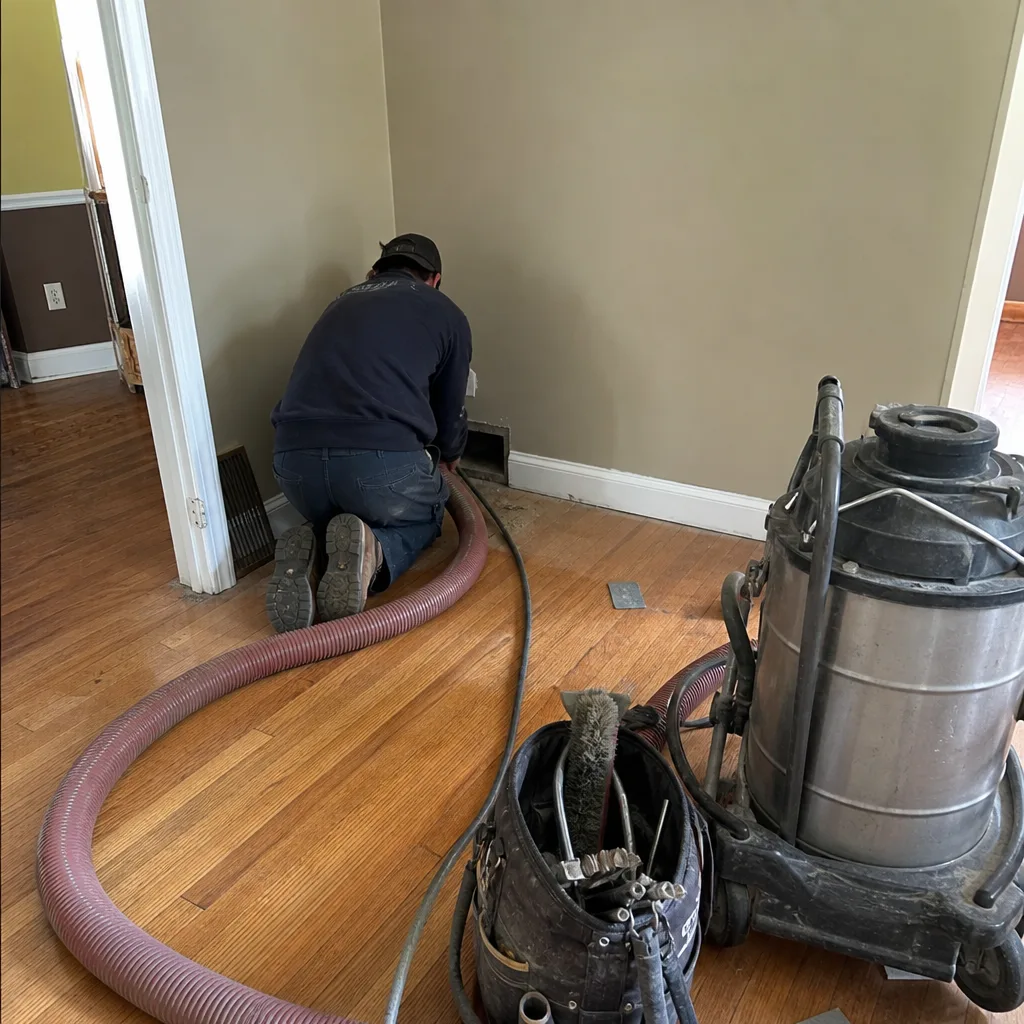 Before
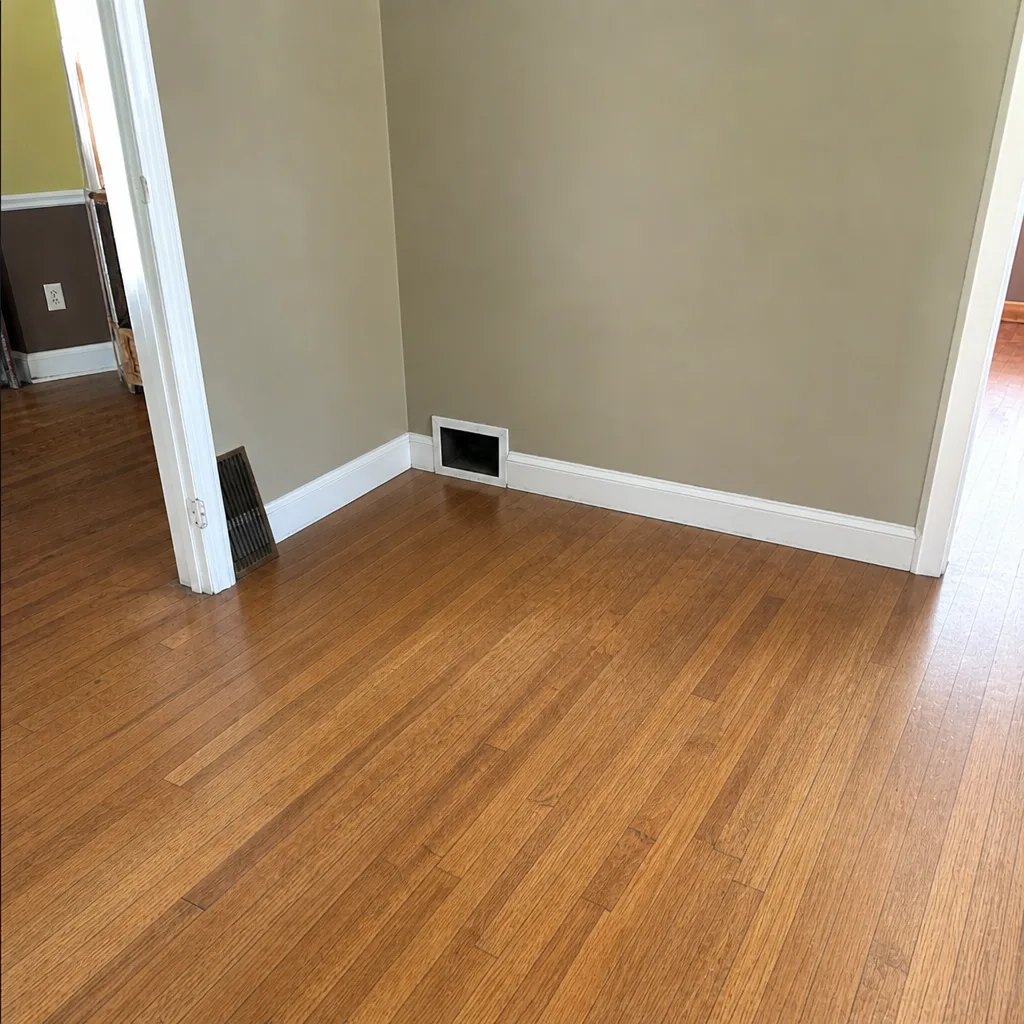 After
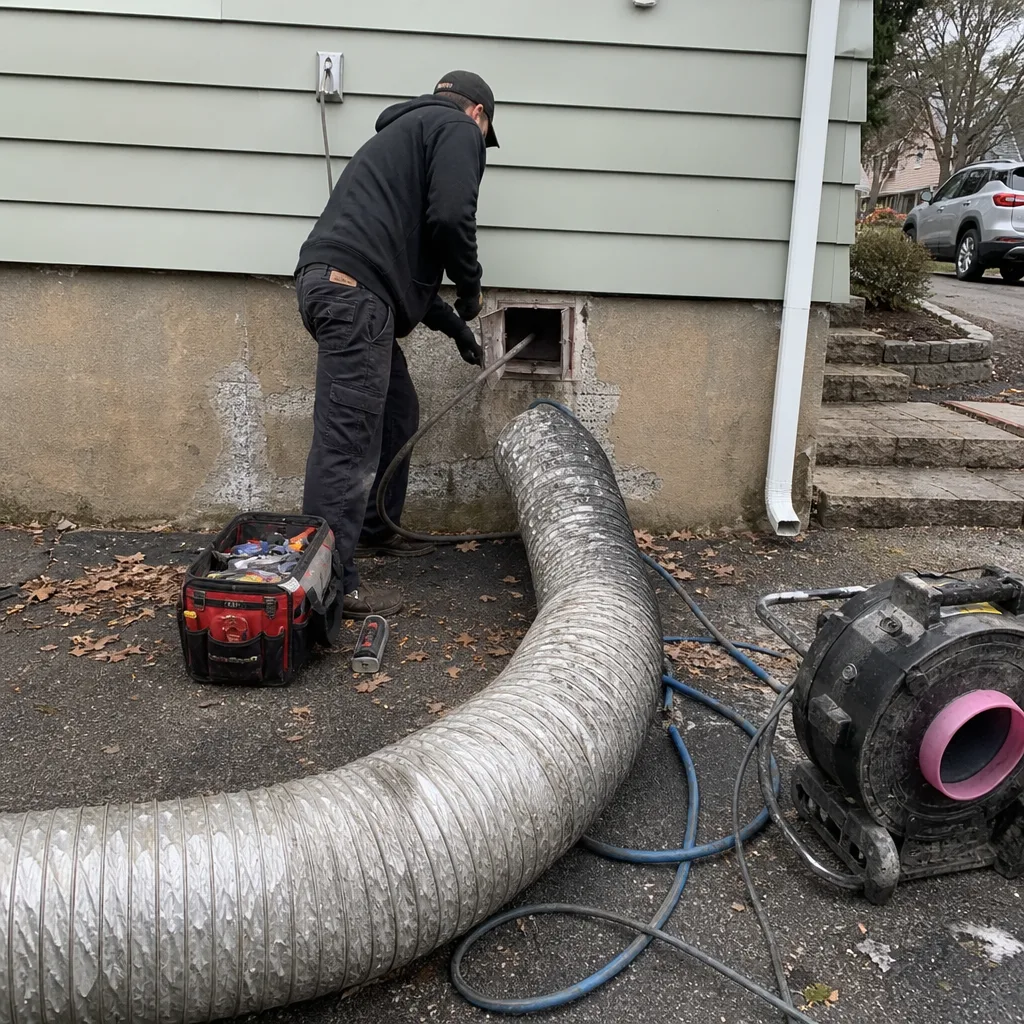 Before
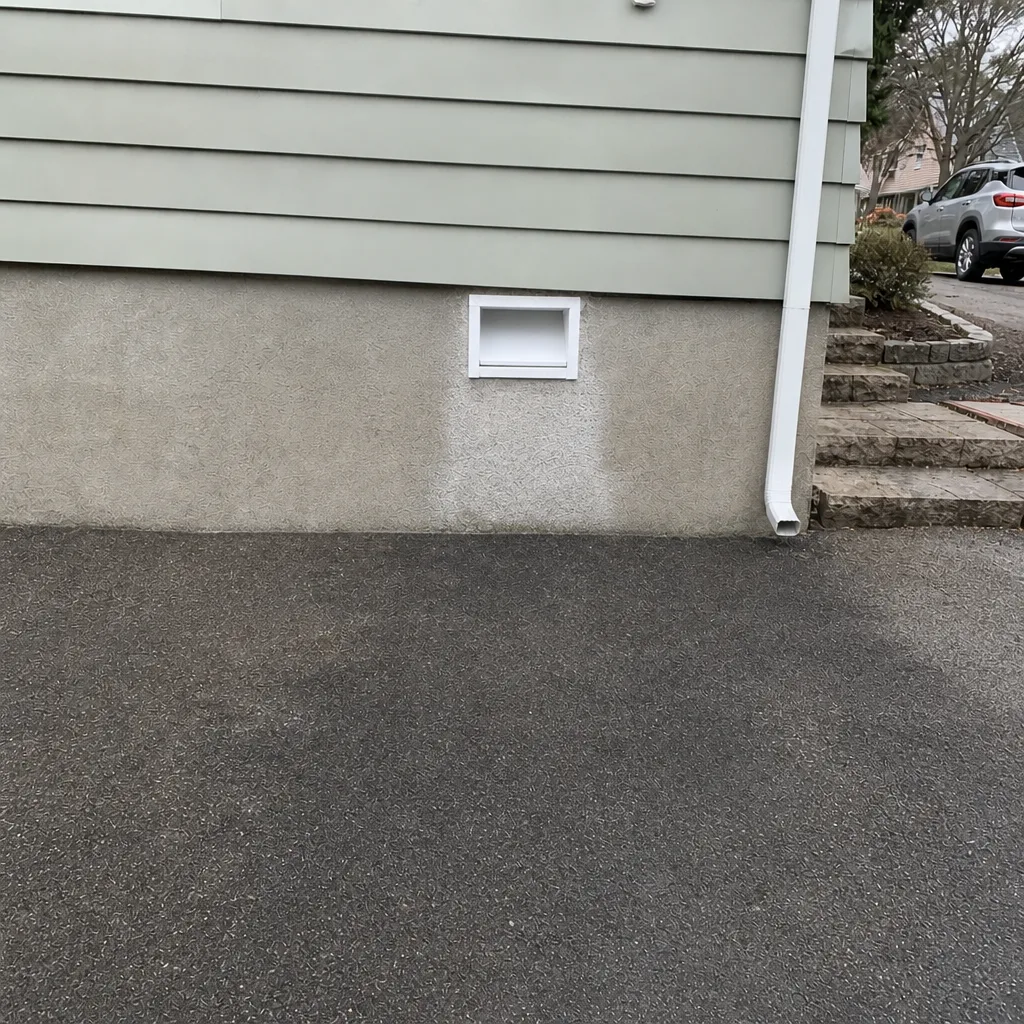 After
When to Call a Professional
Call a professional when your own checks show a change rather than a constant. A filter that’s loading twice as fast, a register with noticeably weaker airflow, visible moisture on a basement trunk line, or a persistent musty odor: each is a small finding today. Left through a heating season, a return-side leak can double the material in your ducts, extend the cleaning scope, and turn a sealing repair into a bigger job. Don’t wait for visible debris or a system failure.
We answer 24/7. Fast dispatch from 7am to 7pm, Sunday through Friday. Duct Cleaning Lynn offers free estimates in Lynn: call (888) 392-6109 and we’ll talk through what your checklist has shown and what an inspection will cover. Estimates are free, and the price for any cleaning or repair is set per job by a written estimate before we start.
Frequently Asked Questions
Every three to five years is a reasonable starting point for most Lynn homes, but frequency should follow your own checklist record rather than the calendar alone. Homes with pets, recent renovations, or long basement return runs often need the interval shortened. If your filter loading rate has shortened or your visible dust accumulation has accelerated, the professional inspection is warranted before the standard interval. Call (888) 392-6109 for a free estimate that’s based on your system, not a default schedule.
Duct cleaning in Lynn is priced per job, not per vent, based on the scope the technician can see. We don’t quote a teaser per-register price, because the work is cleaning the whole system: the trunk lines, the branch runs, and the plenum. The written estimate sets the price and you approve it before the work starts. If the inspection finds a compromised duct that needs repair, that scope is part of the same estimate. Call (888) 392-6109 for a free estimate on your home.
Cheaper quotes usually reflect what the crew brings to the job. A crew that uses a shop vac and a hand brush cannot reach the plenum content, cannot maintain containment while cleaning, and cannot repair a compromised duct found on inspection. Our crews bring Rotobrush and Nikro systems, which are equipped for the mechanical removal and containment that the cleaning standard specifies, along with Abatement Technologies filtration units to protect the living space during the work. Comparing quotes without comparing equipment is comparing prices on two different jobs. Call (888) 392-6109 if you want to know what a professional cleaning scope includes.
Ask before the work starts what documentation you’ll receive. We photograph registers, duct runs, and filters before and after the work, so you can see what changed. Before-and-after photos of your own ducts are the clearest answer to whether the work was done, and they also serve as the start of your own checklist record. Call (888) 392-6109 for a free estimate and ask what documentation will be provided.
You can vacuum register grilles and reachable boots, and that removes visible surface dust. You cannot reach the plenum, the interior of flex runs, or the branch ducts from a register, which is where the material that affects airflow accumulates. Cleaning the reachable portions is fine as part of your monthly checks. Treat it as a supplement to professional cleaning, not a replacement for it. Call (888) 392-6109 if you’re unsure whether your own checks have reached the point of needing a professional inspection.
No. Dryer vents should be inspected more often than ducts because lint accumulation in a dryer vent has a fire-safety outcome that duct dust does not. If your dryer cycles have lengthened, the exterior isn’t exhausting warm air the way it used to, or the vent termination shows lint buildup, that’s a dryer vent check. Our technicians handle dryer vent cleaning as a separate service from duct cleaning. Call (888) 392-6109 to schedule an inspection for both in one visit.
The Bottom Line
A duct maintenance checklist for Lynn homes works as a monitoring protocol, not a calendar reminder. Track filter loading speed against your own baseline. Photograph register grilles and filter faces on a consistent schedule. Check basement trunk lines for moisture after winter stops and before heating season starts. Interpret a finding as a signal to inspect, not as a reason to panic, and don’t treat a faster-loading filter as a reason to just change filters more often. The two-year or three-year interval is a starting point, and your own record is the better guide.
When a finding crosses the line from observation to repair, equipment matters more than price. Professional-grade cleaning and repair capability mean a single visit resolves what a cleaning-only crew would refer to a second contractor. Call (888) 392-6109 for a free estimate. We answer 24/7, with fast dispatch from 7am to 7pm, Sunday through Friday.
Written by the team at Duct Cleaning Lynn.